
01 — What is Chatwoot, and how does it help?
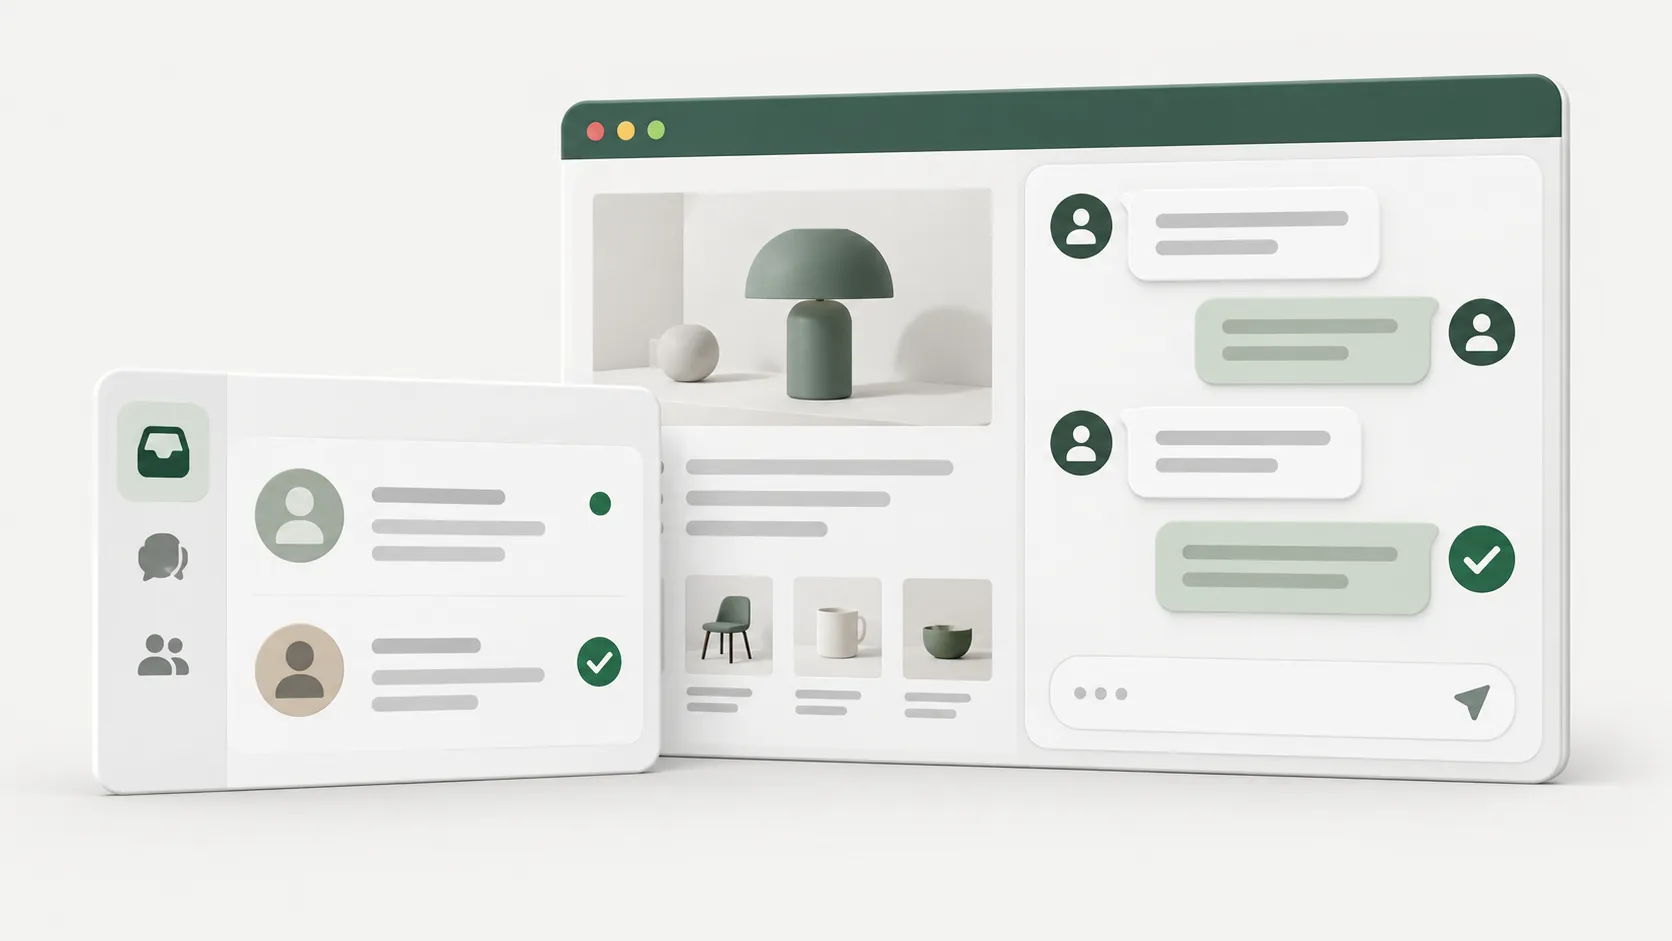
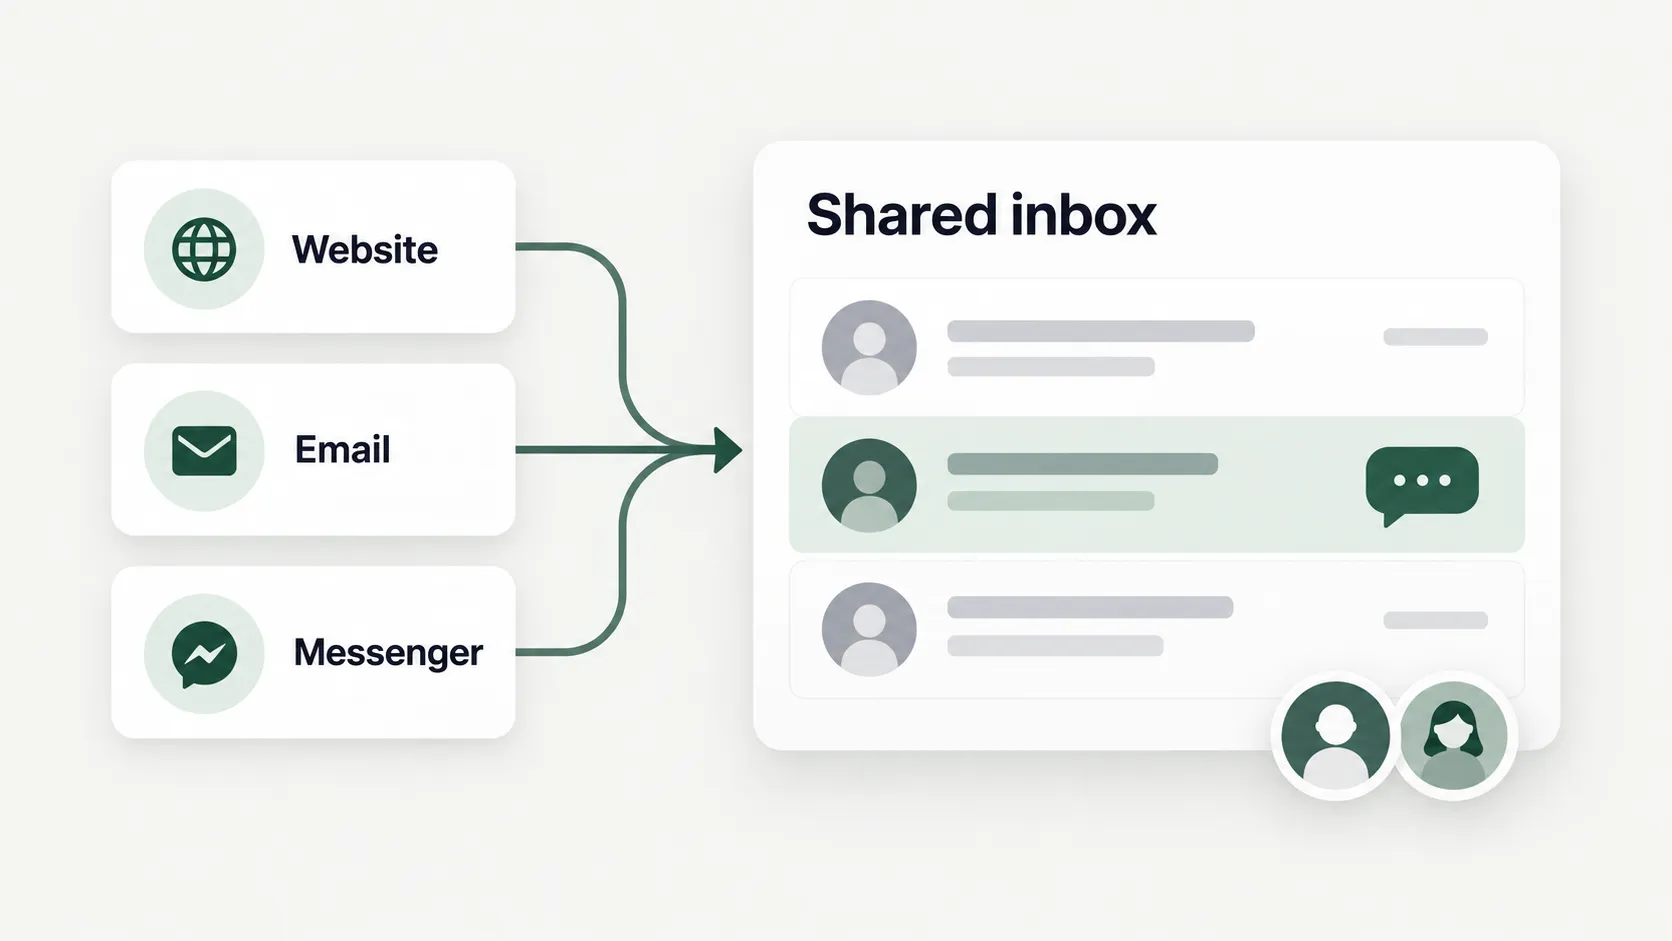
Chatwoot brings customer conversations into a shared workspace. Once you connect a channel such as website chat, email, or Facebook Messenger, your team can read its conversations, reply, and assign an owner from the dashboard.
Imagine two people covering a shop’s enquiries. One starts answering a product question; the next person takes over at a shift change. The conversation history gives them the context to continue without asking the customer to repeat everything.
Learn these four terms first. Automation and AI can come later, once your team is comfortable handling conversations.
- Channel: a communication type, such as Website or Email.
- Inbox: a connected instance of a channel, such as your shop’s website chat.
- Conversation: the customer discussion you are handling.
- Agent: a team member who answers customers.
Reference: Chatwoot — Channels and inboxes
02 — Prepare your account and invite your team
Start with an accessible Chatwoot account. For Chatwoot Cloud, sign up and complete email verification. If your organisation already runs its own installation, use the URL and invitation from its administrator. Server installation is outside this guide.
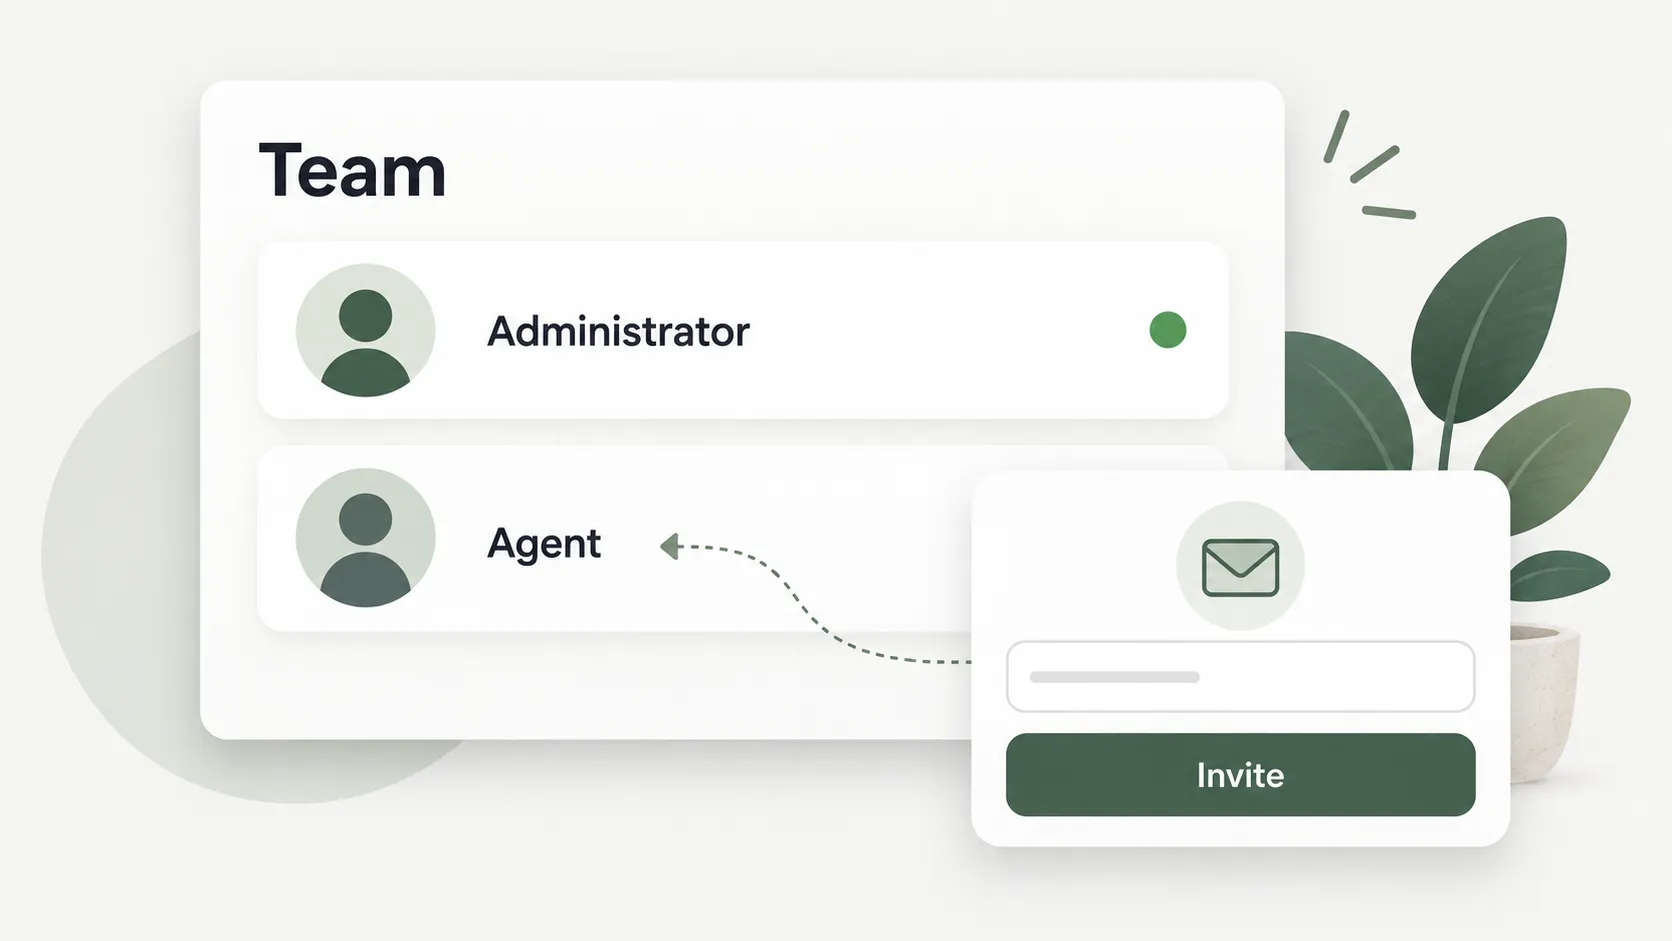
Have your teammates’ email addresses and access to edit your website ready. Use an Administrator account for setup and the Agent role for people answering customers. Menu names may vary slightly by language or version.
- Sign in to the correct business account and set a recognisable profile name and picture.
- Open Settings → Agents, add an agent, enter their name and email, choose their role, and send the invitation.
- Ask each teammate to accept the invitation and sign in. If you work alone, use your own account for the exercise.
- Agree who covers each shift and which questions need a handover before accepting real enquiries.
- Ready to continue: the administrator can open Settings and the people answering chats can sign in.
- Account membership does not automatically grant access to every inbox. Add the responders to the inbox in the next step.
Reference: Chatwoot — Invite agents and manage your support team
03 — Create an inbox and add website chat
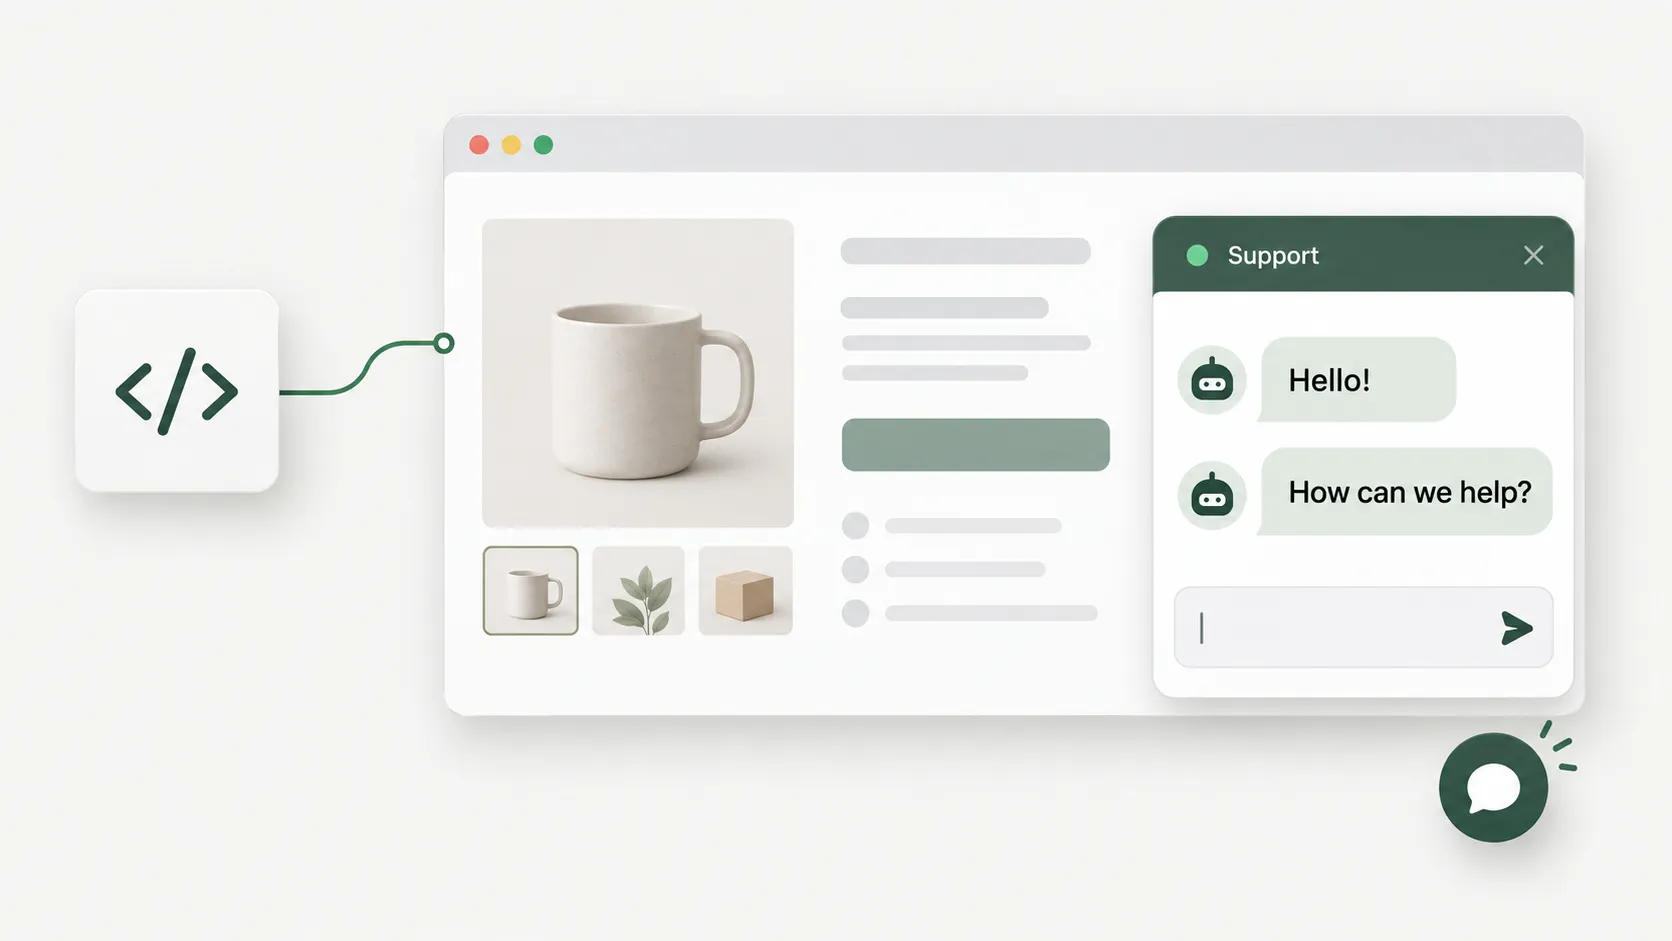
Use Website as your first channel so you can try both sides of a conversation yourself. The goal is to send a message from the chat widget and see it arrive in your inbox.
If someone else manages the website, send them the installation snippet. For a website builder or a platform with a script field or plugin, follow that platform’s installation method.
- Open Settings → Inboxes → Add Inbox and choose Website.
- Name the inbox, enter the website URL, choose a colour, and write your welcome message.
- Add the agents who will answer chats, including yourself if you will test replies.
- Copy the complete generated snippet, place it before the closing </body> tag on your website, and publish the website change.
- Open the site in a private browser window and send “Test product enquiry” through the widget. Check the inbox in Chatwoot.
- Ready to continue: the widget is visible and the test message appears as a conversation.
- If the widget is missing, check the snippet and the published site. If an agent cannot see the inbox, check its collaborator list.
Reference: Chatwoot — Website live chat settings
04 — Reply, hand over, and resolve
Read the history and check the owner before replying. For this exercise, a customer asks about a product and a teammate needs to check stock. Keep the customer replies and the team’s context in the same conversation.
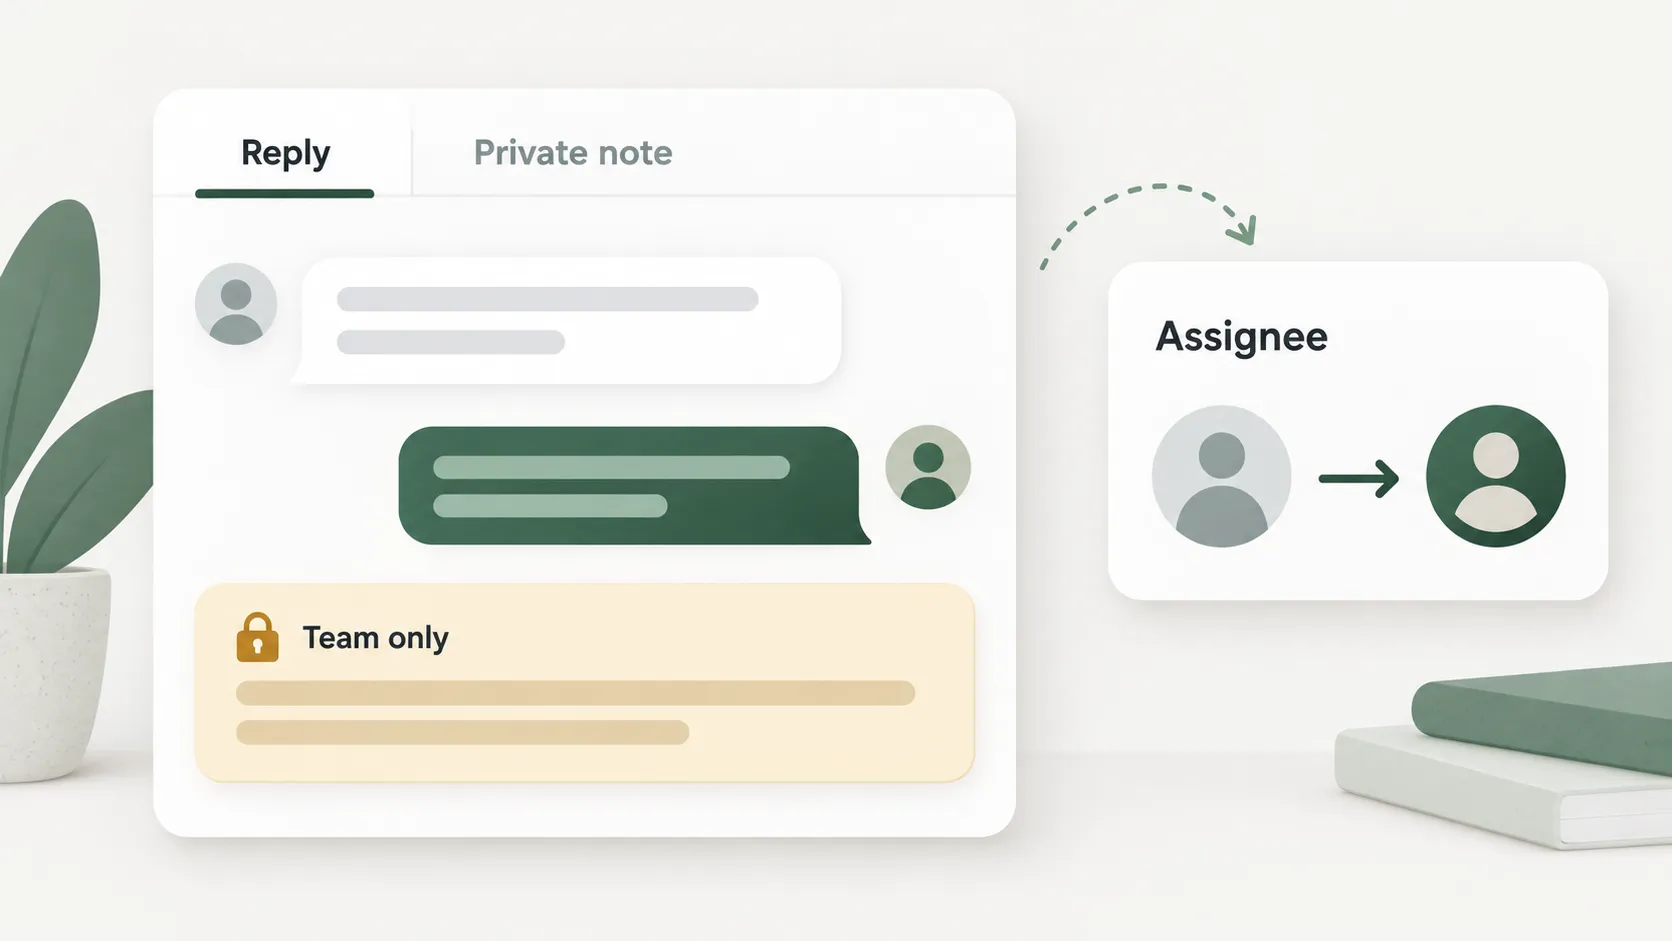
Reply sends a message to the customer. Private note keeps a message inside your team. Check the composer mode before sending.
- Open the test conversation and set yourself as its Assignee.
- Use Reply to send “Hello! Which product are you interested in?” Check that it arrives in the website widget.
- Switch to Private note, write “Interested in model A; please check stock before confirming,” and @mention a teammate.
- Change the Assignee if that teammate should take over. A mention and an assignment serve different purposes.
- Choose Resolve when the enquiry is finished. Keep unfinished work Open, or Snooze it until a chosen follow-up time.
Reference: Chatwoot — Mastering core features
05 — Save a frequent reply and practice a complete enquiry
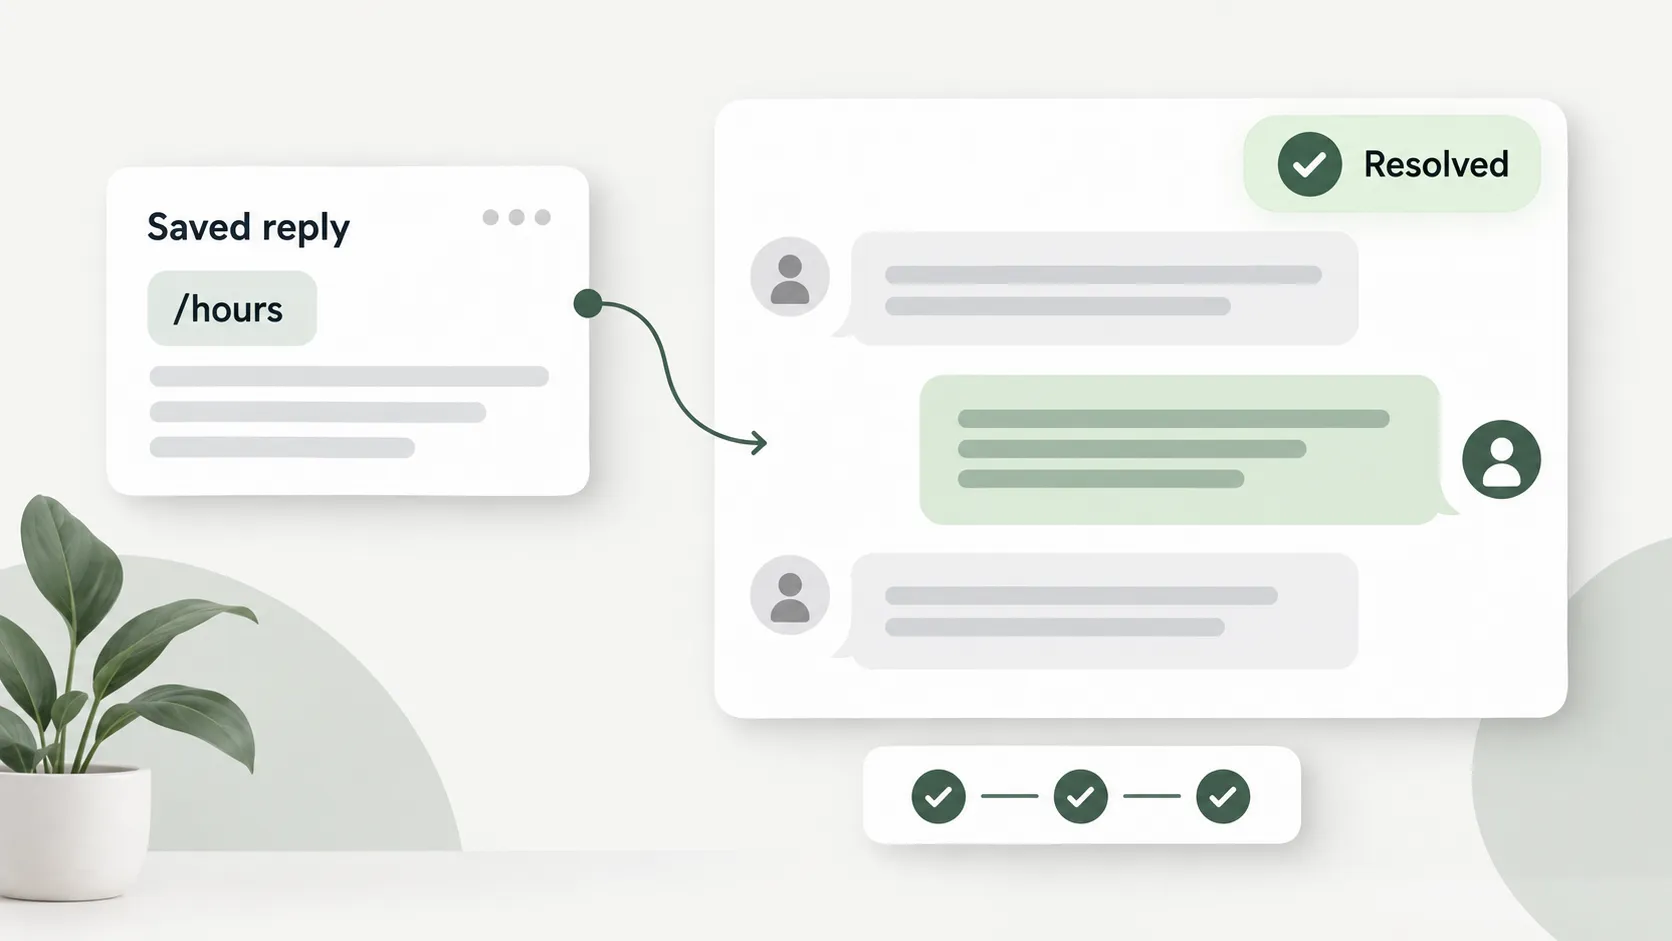
Canned Responses let agents reuse common answers, such as opening hours, while still reviewing and sending each reply themselves.
Open Settings → Canned Responses → Add canned response. Set the Short Code to “hours” and enter your actual business hours. In a conversation, type / to choose the saved response, review it, and send.
Now have one person act as the customer and another as the agent. Use this sample enquiry: “When are you open, and do you have model A?” If working alone, use separate browser windows for each side and complete the checklist.
- The customer’s website message arrives in the correct inbox.
- The agent takes ownership, uses the hours response, and the customer receives it.
- The agent adds a stock-check private note that the customer cannot see.
- If a teammate is available, hand over and have them continue using the existing history.
- Send the final answer, resolve the conversation, and find the resolved conversation again.
Reference: Chatwoot — Canned Responses