
Learn how to rename, secure, or delete a workspace in NocoDB.
Workspace configuration lives under Settings in the workspace sidebar, across the General , Billing , Audits and Single Sign-On (SSO) tabs. General is split into Appearance , AI Skills , Security and Danger Zone .
Rename workspace
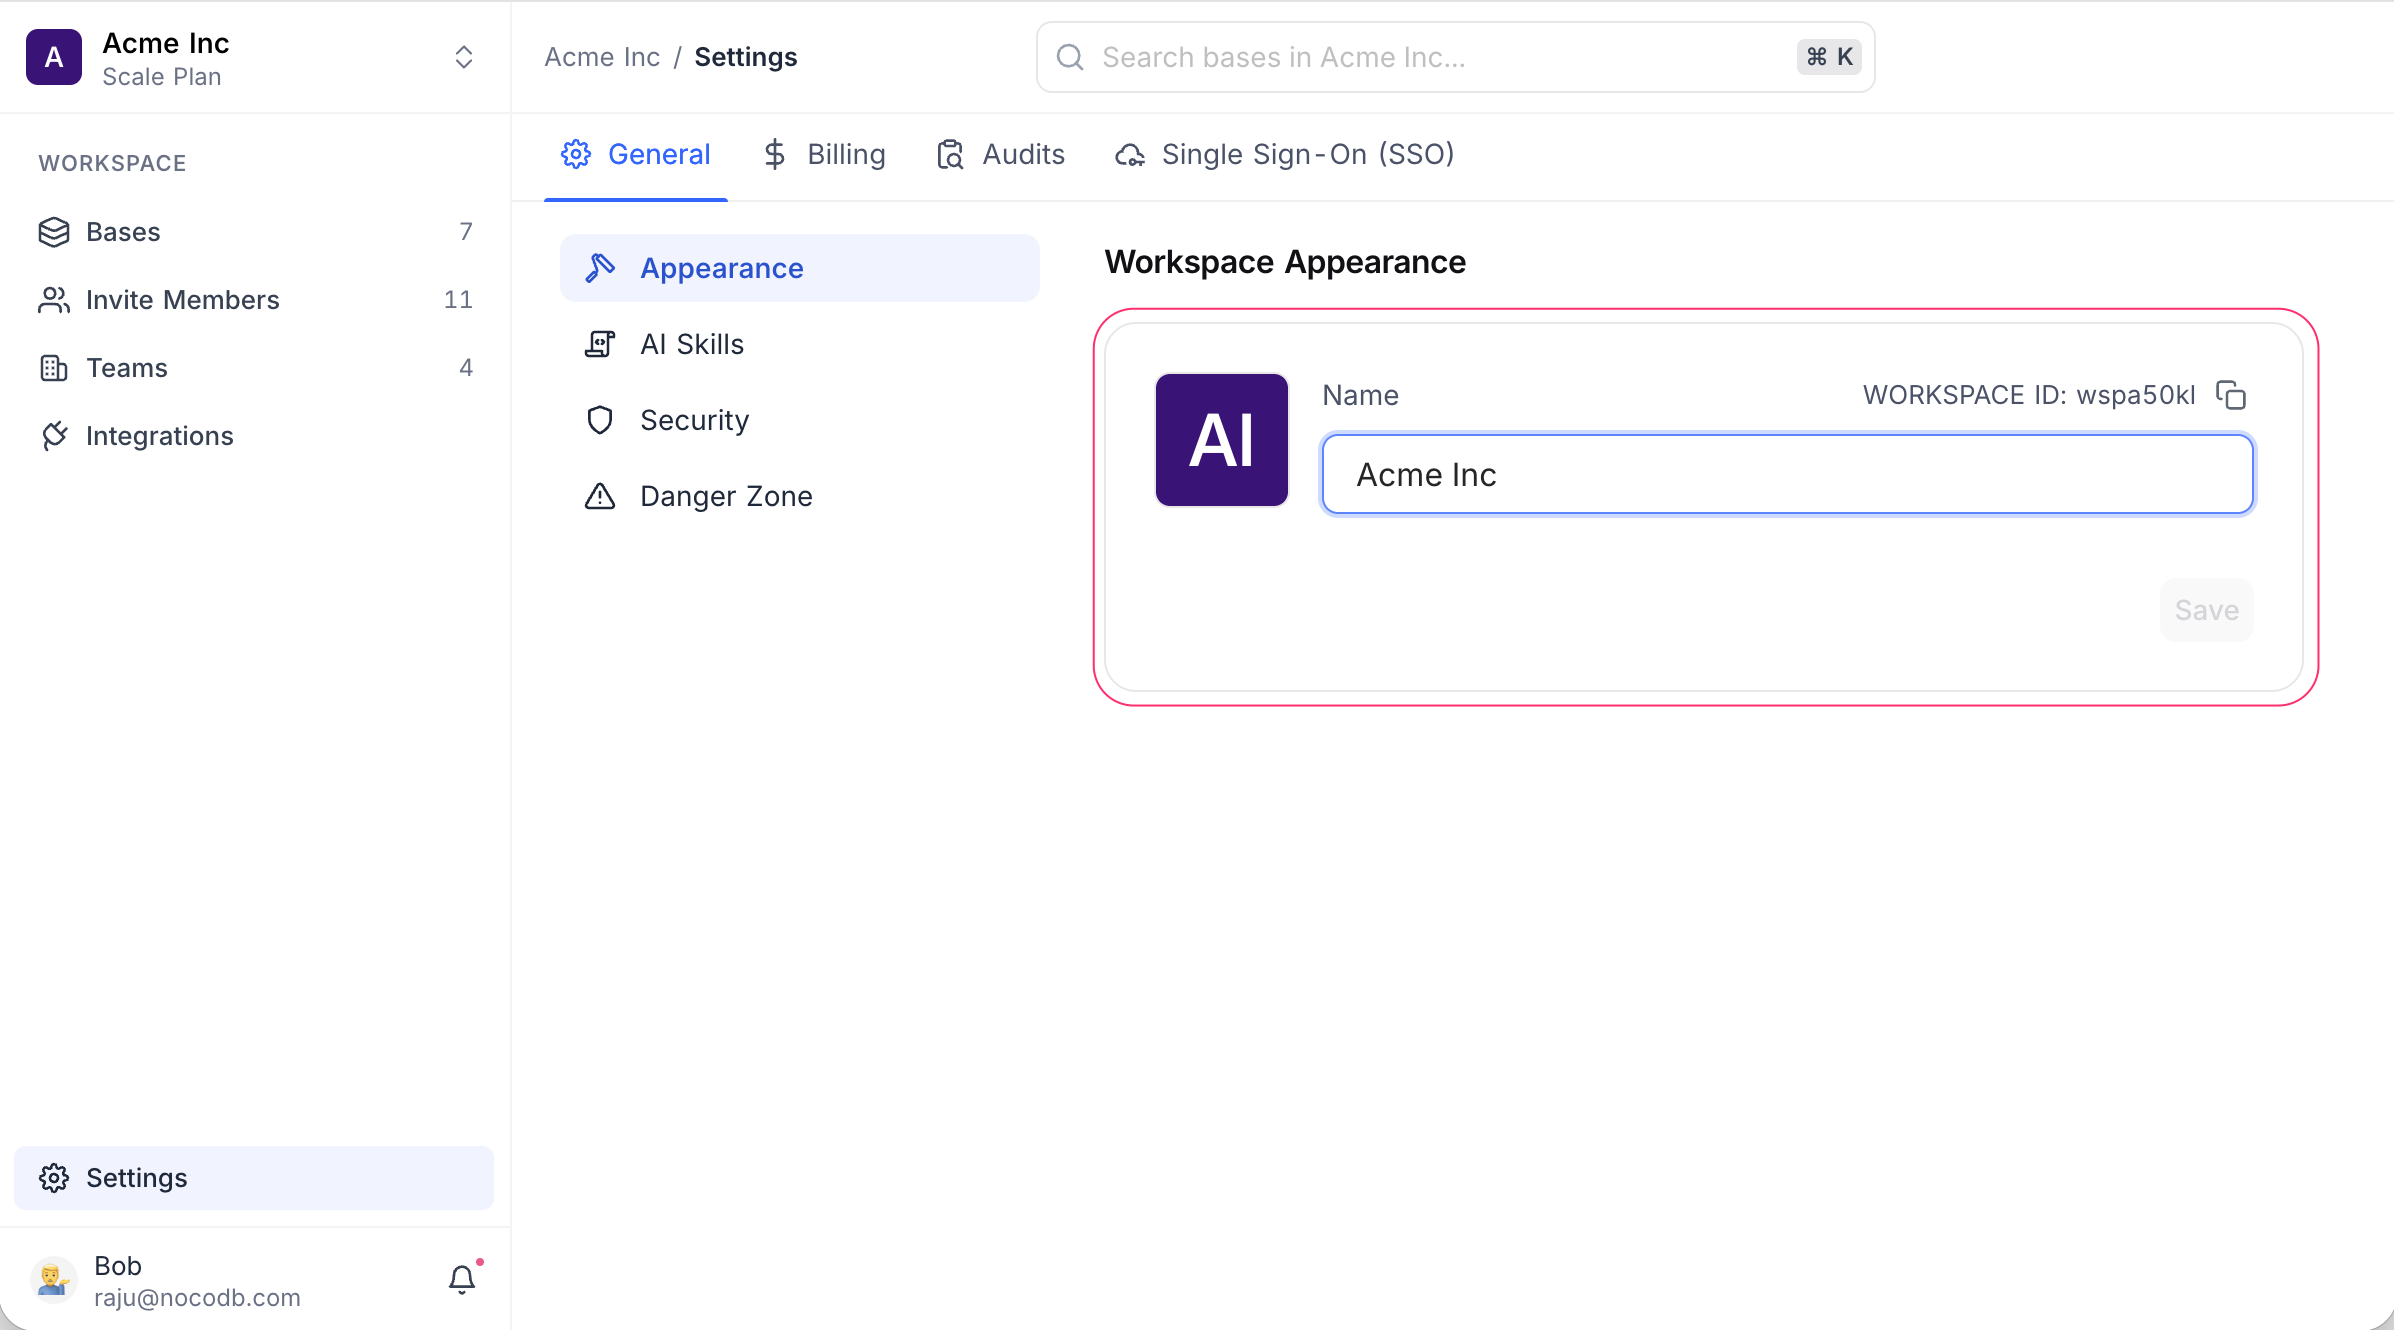
- Click Settings in the workspace sidebar.
- Open the General tab and select Appearance .
- Update the Name field. You can also change the workspace icon by clicking the icon next to it.
- Click Save to apply changes.
Require two-factor authentication
Workspace owners can enforce two-factor authentication (2FA) for the entire workspace. When enabled, all workspace members must have 2FA configured on their account before they can access this workspace.
หมายเหตุ: Only the workspace owner can change this setting. It is available on NocoDB Cloud (Enterprise plan) and licensed self-hosted deployments (Scale plan and above).
To require 2FA for a workspace:
- Click Settings in the workspace sidebar.
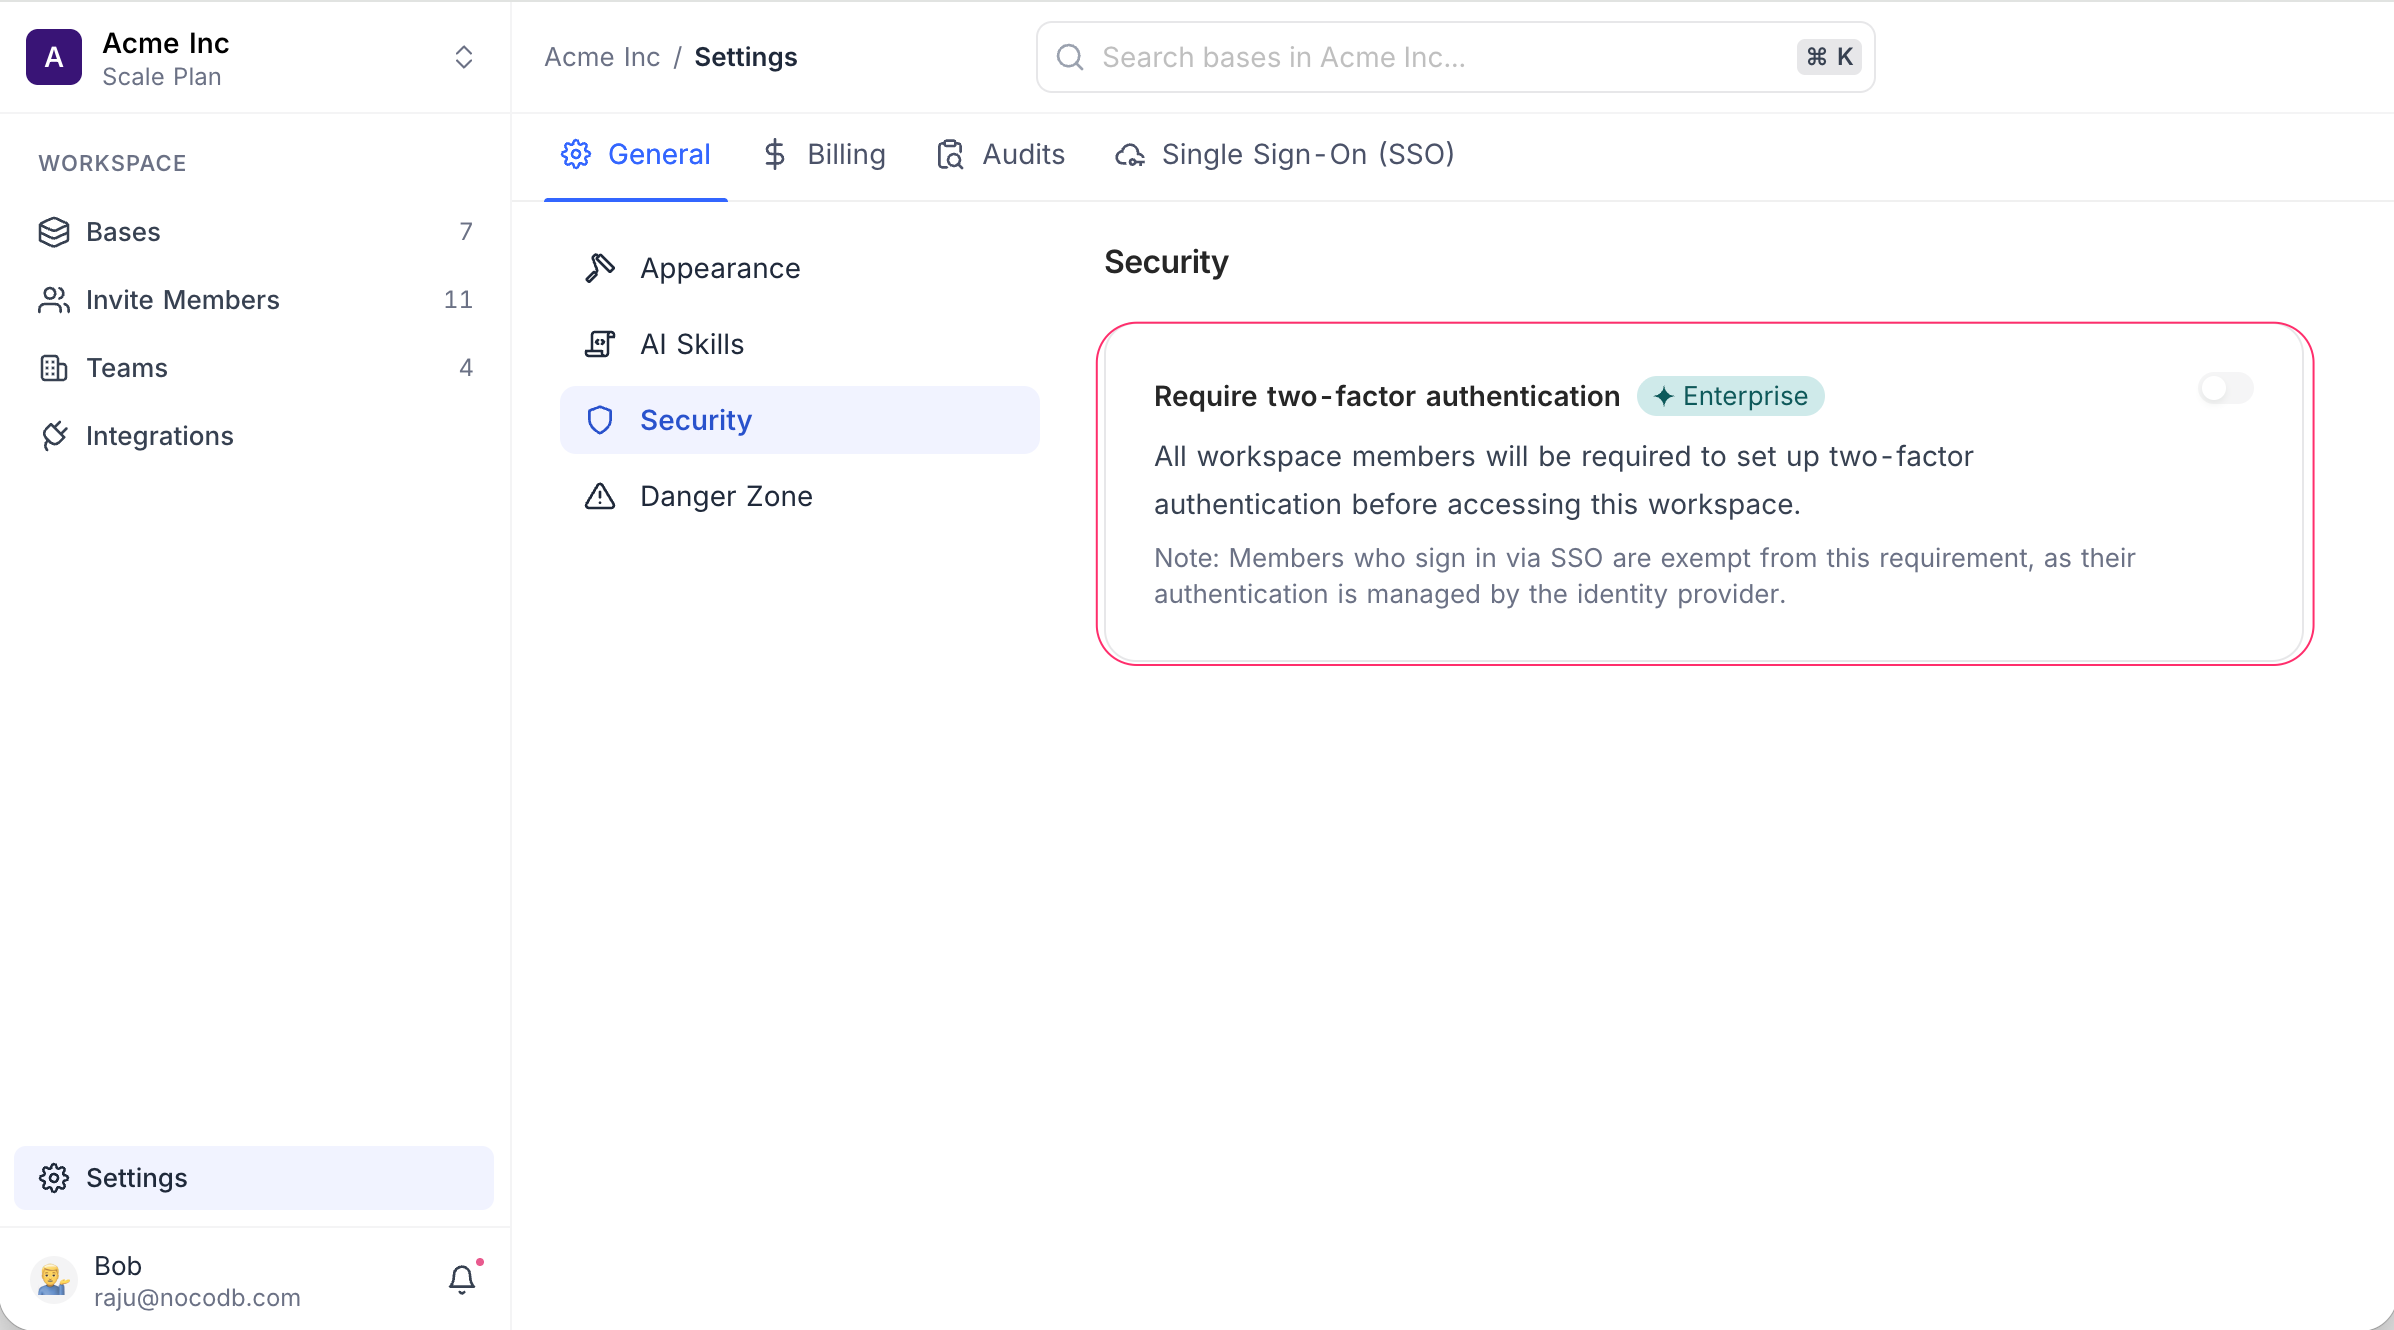
- Open the General tab and select Security .
- Toggle Require two-factor authentication on.
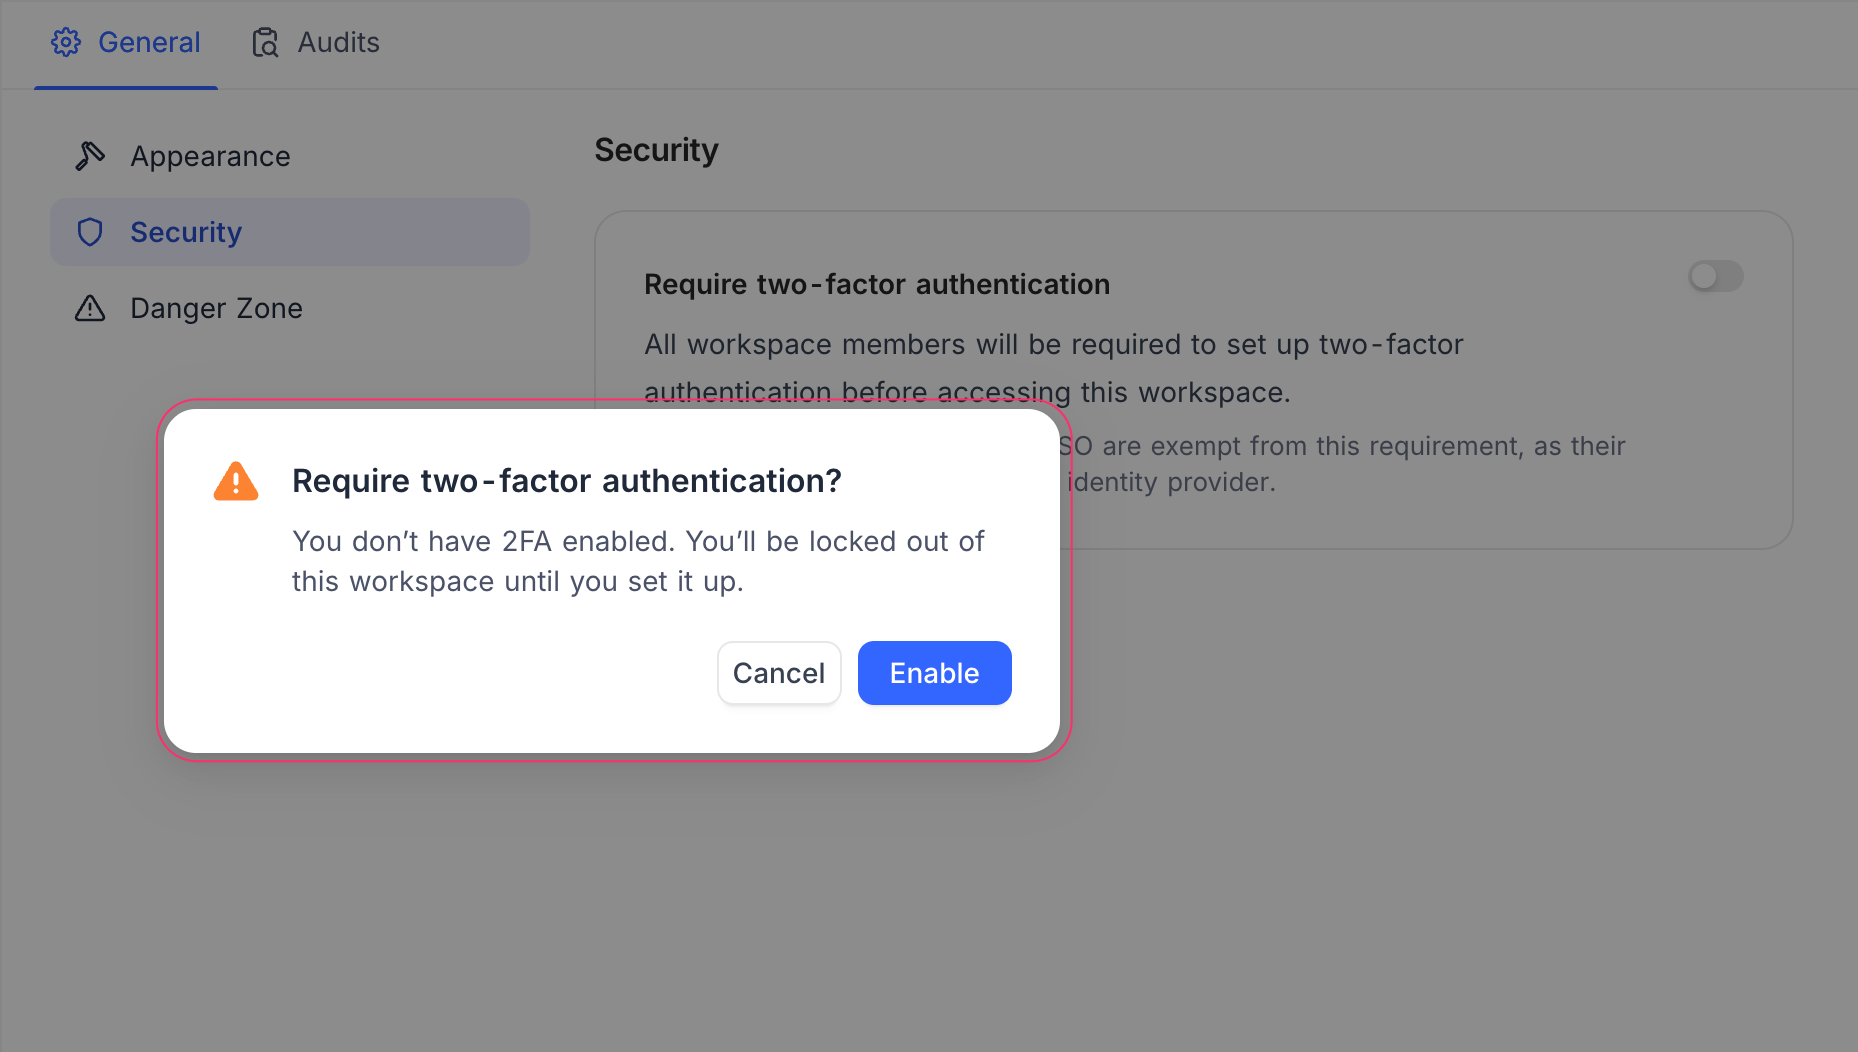
- Confirm in the dialog.
ข้อควรระวัง: If you don't have 2FA set up on your own account, the confirmation dialog warns that you will be locked out of the workspace until you set it up. Configure 2FA on your account first to avoid losing access.
Once enabled:
- Existing members without 2FA are prompted to set it up the next time they try to access the workspace.
- New invitees must complete 2FA setup before they can open the workspace.
- Members who have already enabled 2FA on their account are not affected.
- Members who sign in via SSO (e.g., Google OAuth, SAML, OIDC) are exempt from this requirement and can access the workspace normally, as their authentication security is managed by the SSO provider.
To turn off the requirement, toggle the setting off. Members who previously had to enable 2FA only to meet this policy can choose to keep or remove it from their own Account Settings → Security .
For details on how members set up 2FA on their account, see Two-Factor Authentication .
Delete workspace
Permanently deletes the workspace and all its bases, tables, and data.
ข้อควรระวัง: This action is irreversible. This will permanently remove the workspace and all its contents.
หมายเหตุ: Only the workspace owner can delete a workspace.
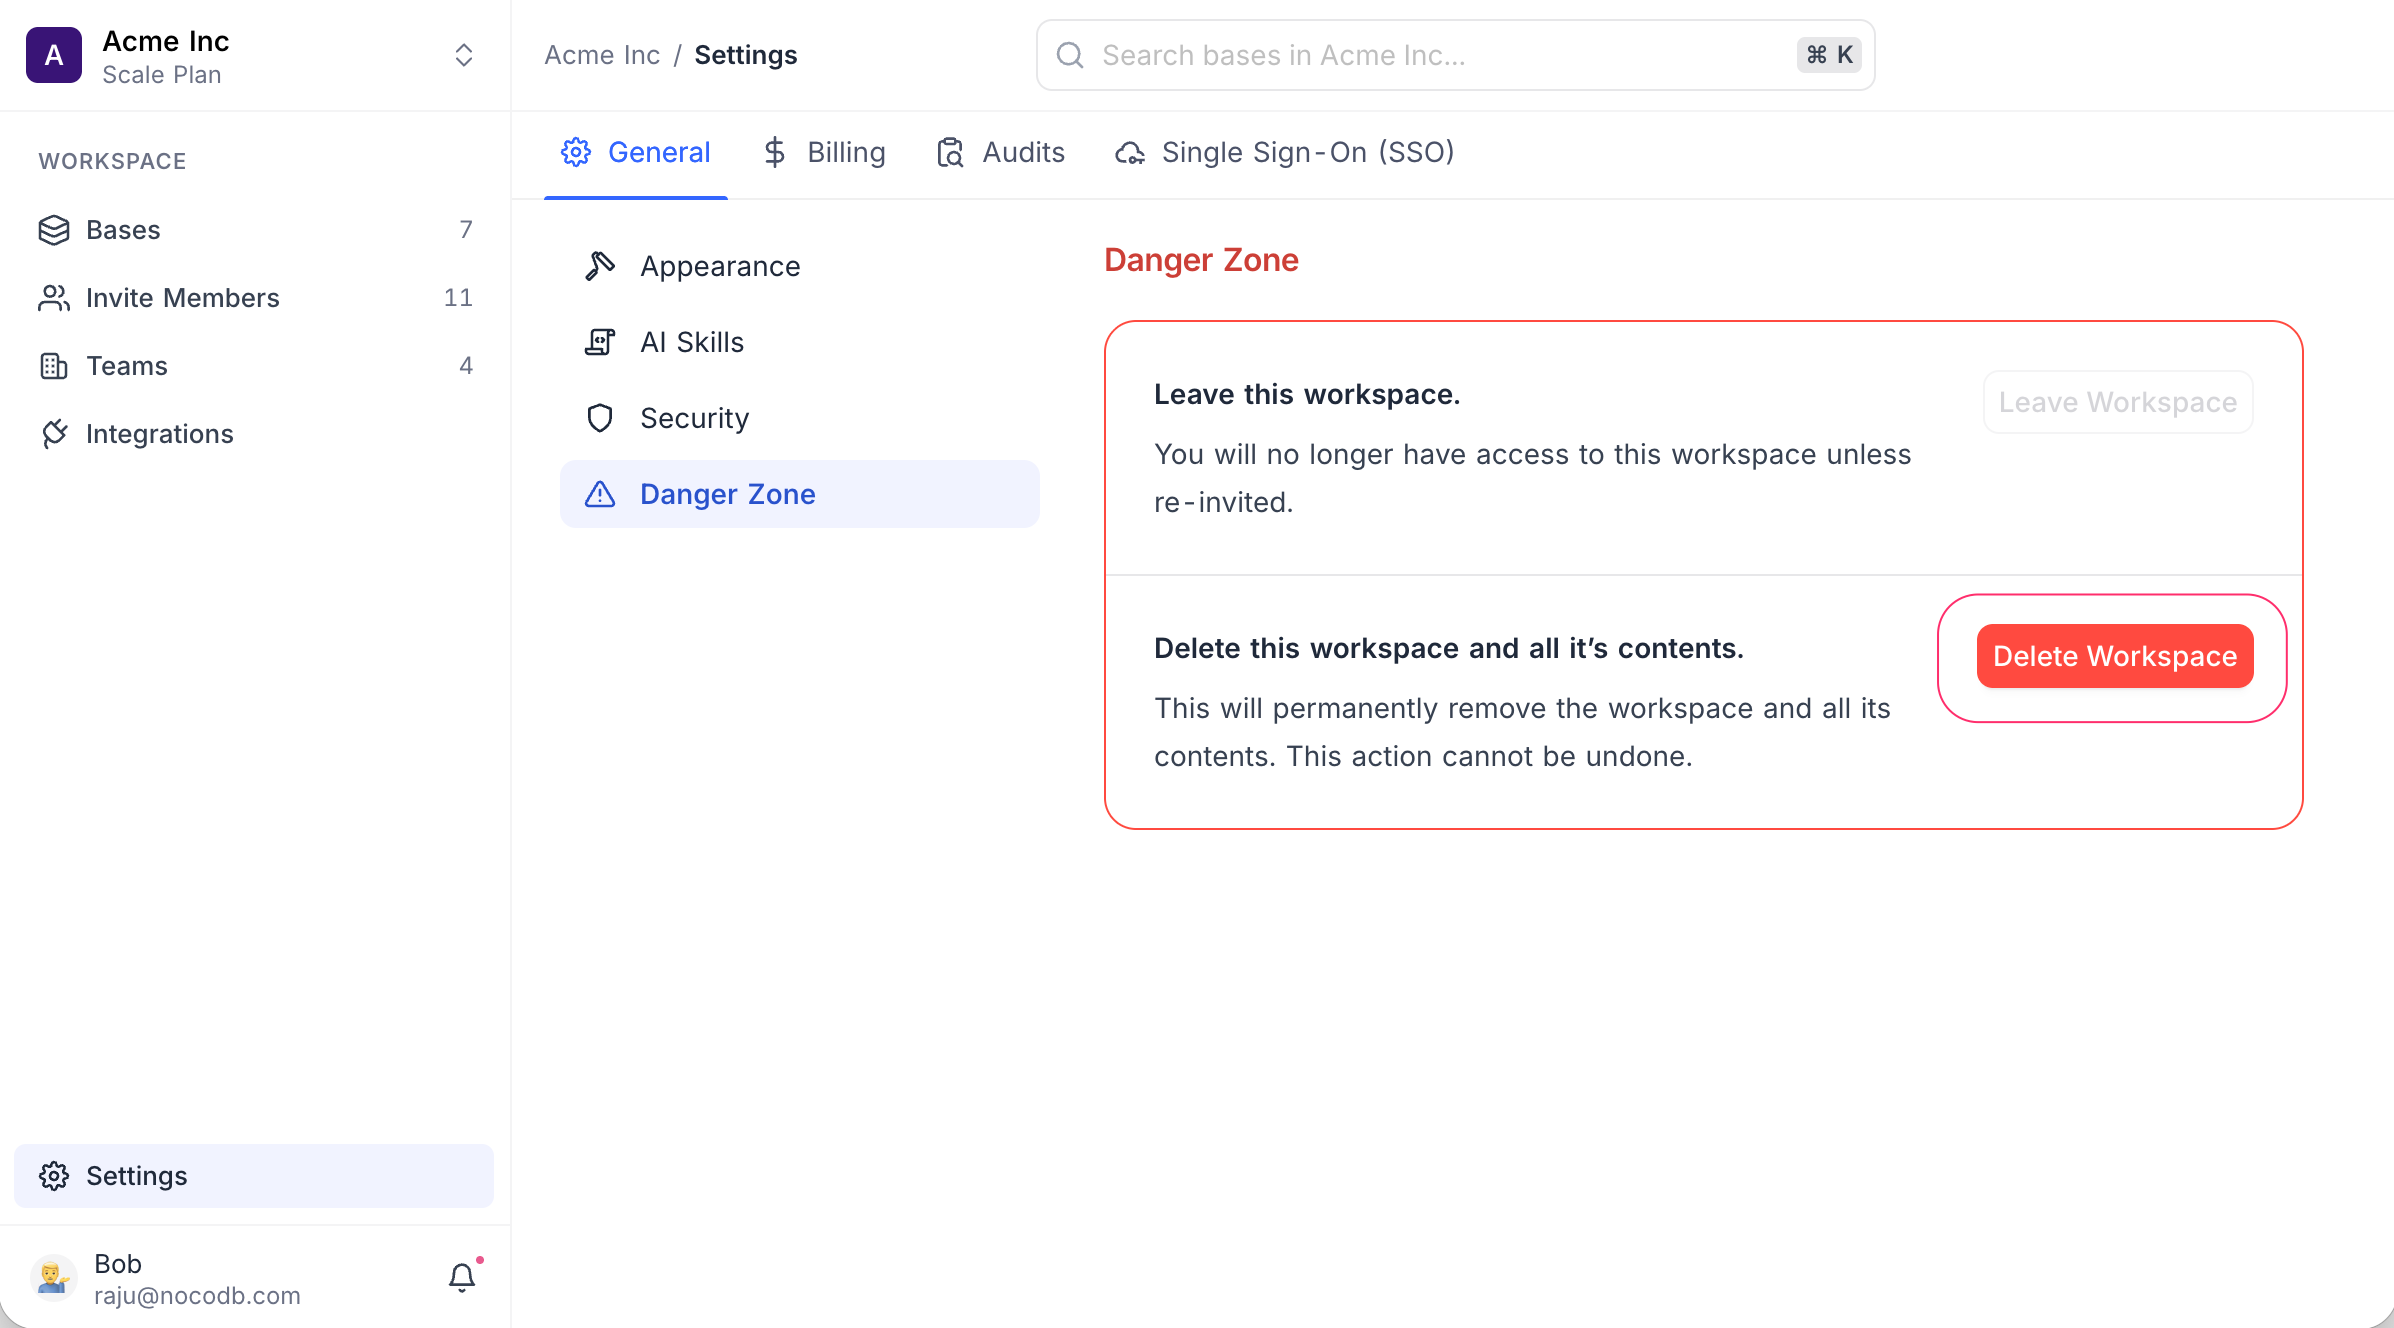
- Click Settings in the workspace sidebar.
- Open the General tab and select Danger Zone .
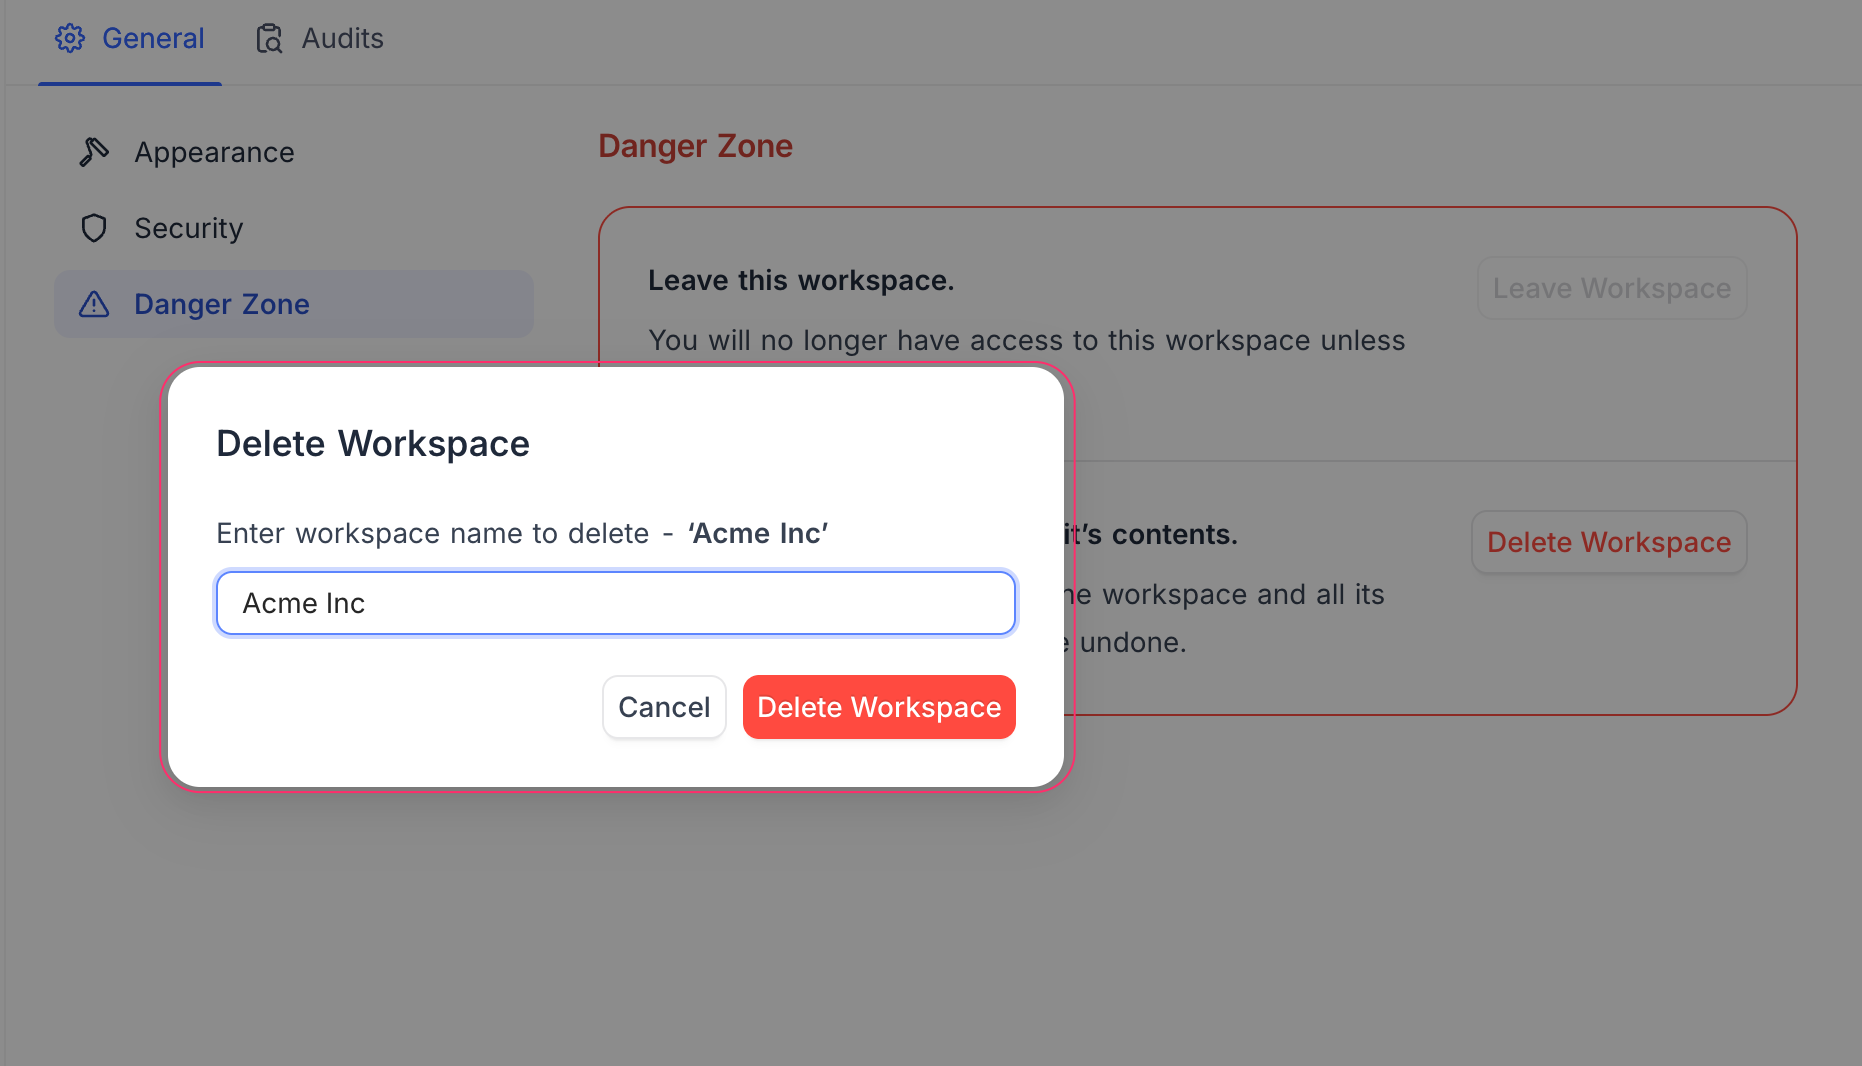
- Click Delete Workspace .
- Confirm by entering the workspace name in the dialog.
Workspaces with an active subscription
If the workspace still has an active paid subscription, deletion is blocked. NocoDB asks you to cancel the subscription first, and offers to take you straight to the Billing tab.
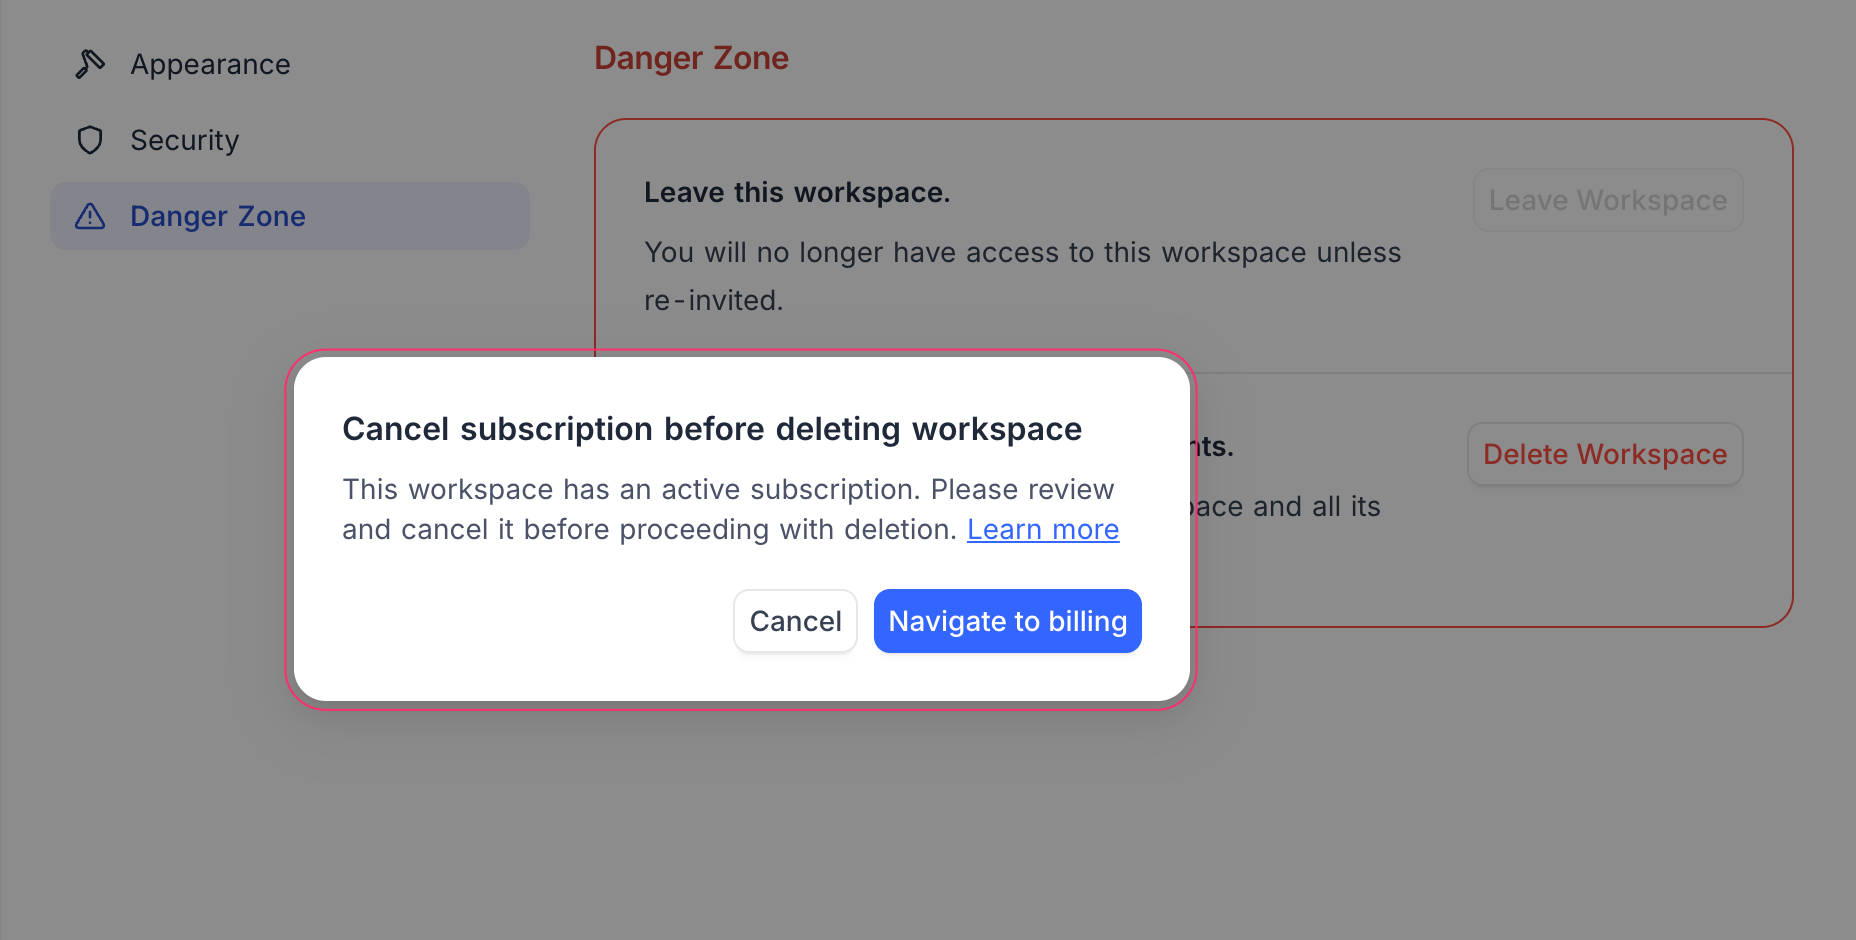
Cancel the subscription from Billing , then delete the workspace.
Leave workspace
If you no longer need access to a workspace, you can leave it. You will not be able to access the workspace unless re-invited.
- Click Settings in the workspace sidebar.
- Open the General tab and select Danger Zone .
- Click Leave Workspace .
Find workspace ID
Each workspace has a unique ID. You can find it in three places:
- Open the workspace switcher at the top of the sidebar. The active workspace card shows WORKSPACE ID ; click it to copy.
- Go to Settings → General → Appearance . The ID is shown above the Name field; click it to copy.
- Read it from the URL when viewing a workspace.
Example:
https://app.nocodb.com/w7kjha1w/...
In this example, the workspace ID is w7kjha1w.
Related pages
- Create Workspace : Learn how to create a workspace in NocoDB
- Workspace Collaboration : This article explains how to invite members or teams to your workspace, manage their roles, and remove them when needed.
- Workspace Audit Logs : Learn how to access and use audit logs to track workspace activity in NocoDB.
- Subscription & Billing : Manage your NocoDB subscription, change plans, and access billing information easily.
- Credits : Understand NocoDB credits: monthly plan allowances, what consumes credits, how credits are spent, and how to buy more.