
Learn how to create a workspace in NocoDB
When you sign up for NocoDB, a default workspace is automatically created for you. You can rename this workspace or create additional ones as needed.
Create a workspace
- Click the workspace switcher at the top of the sidebar.
- Select Create New Workspace .
- Enter a name for your workspace.
- Click Create Workspace .
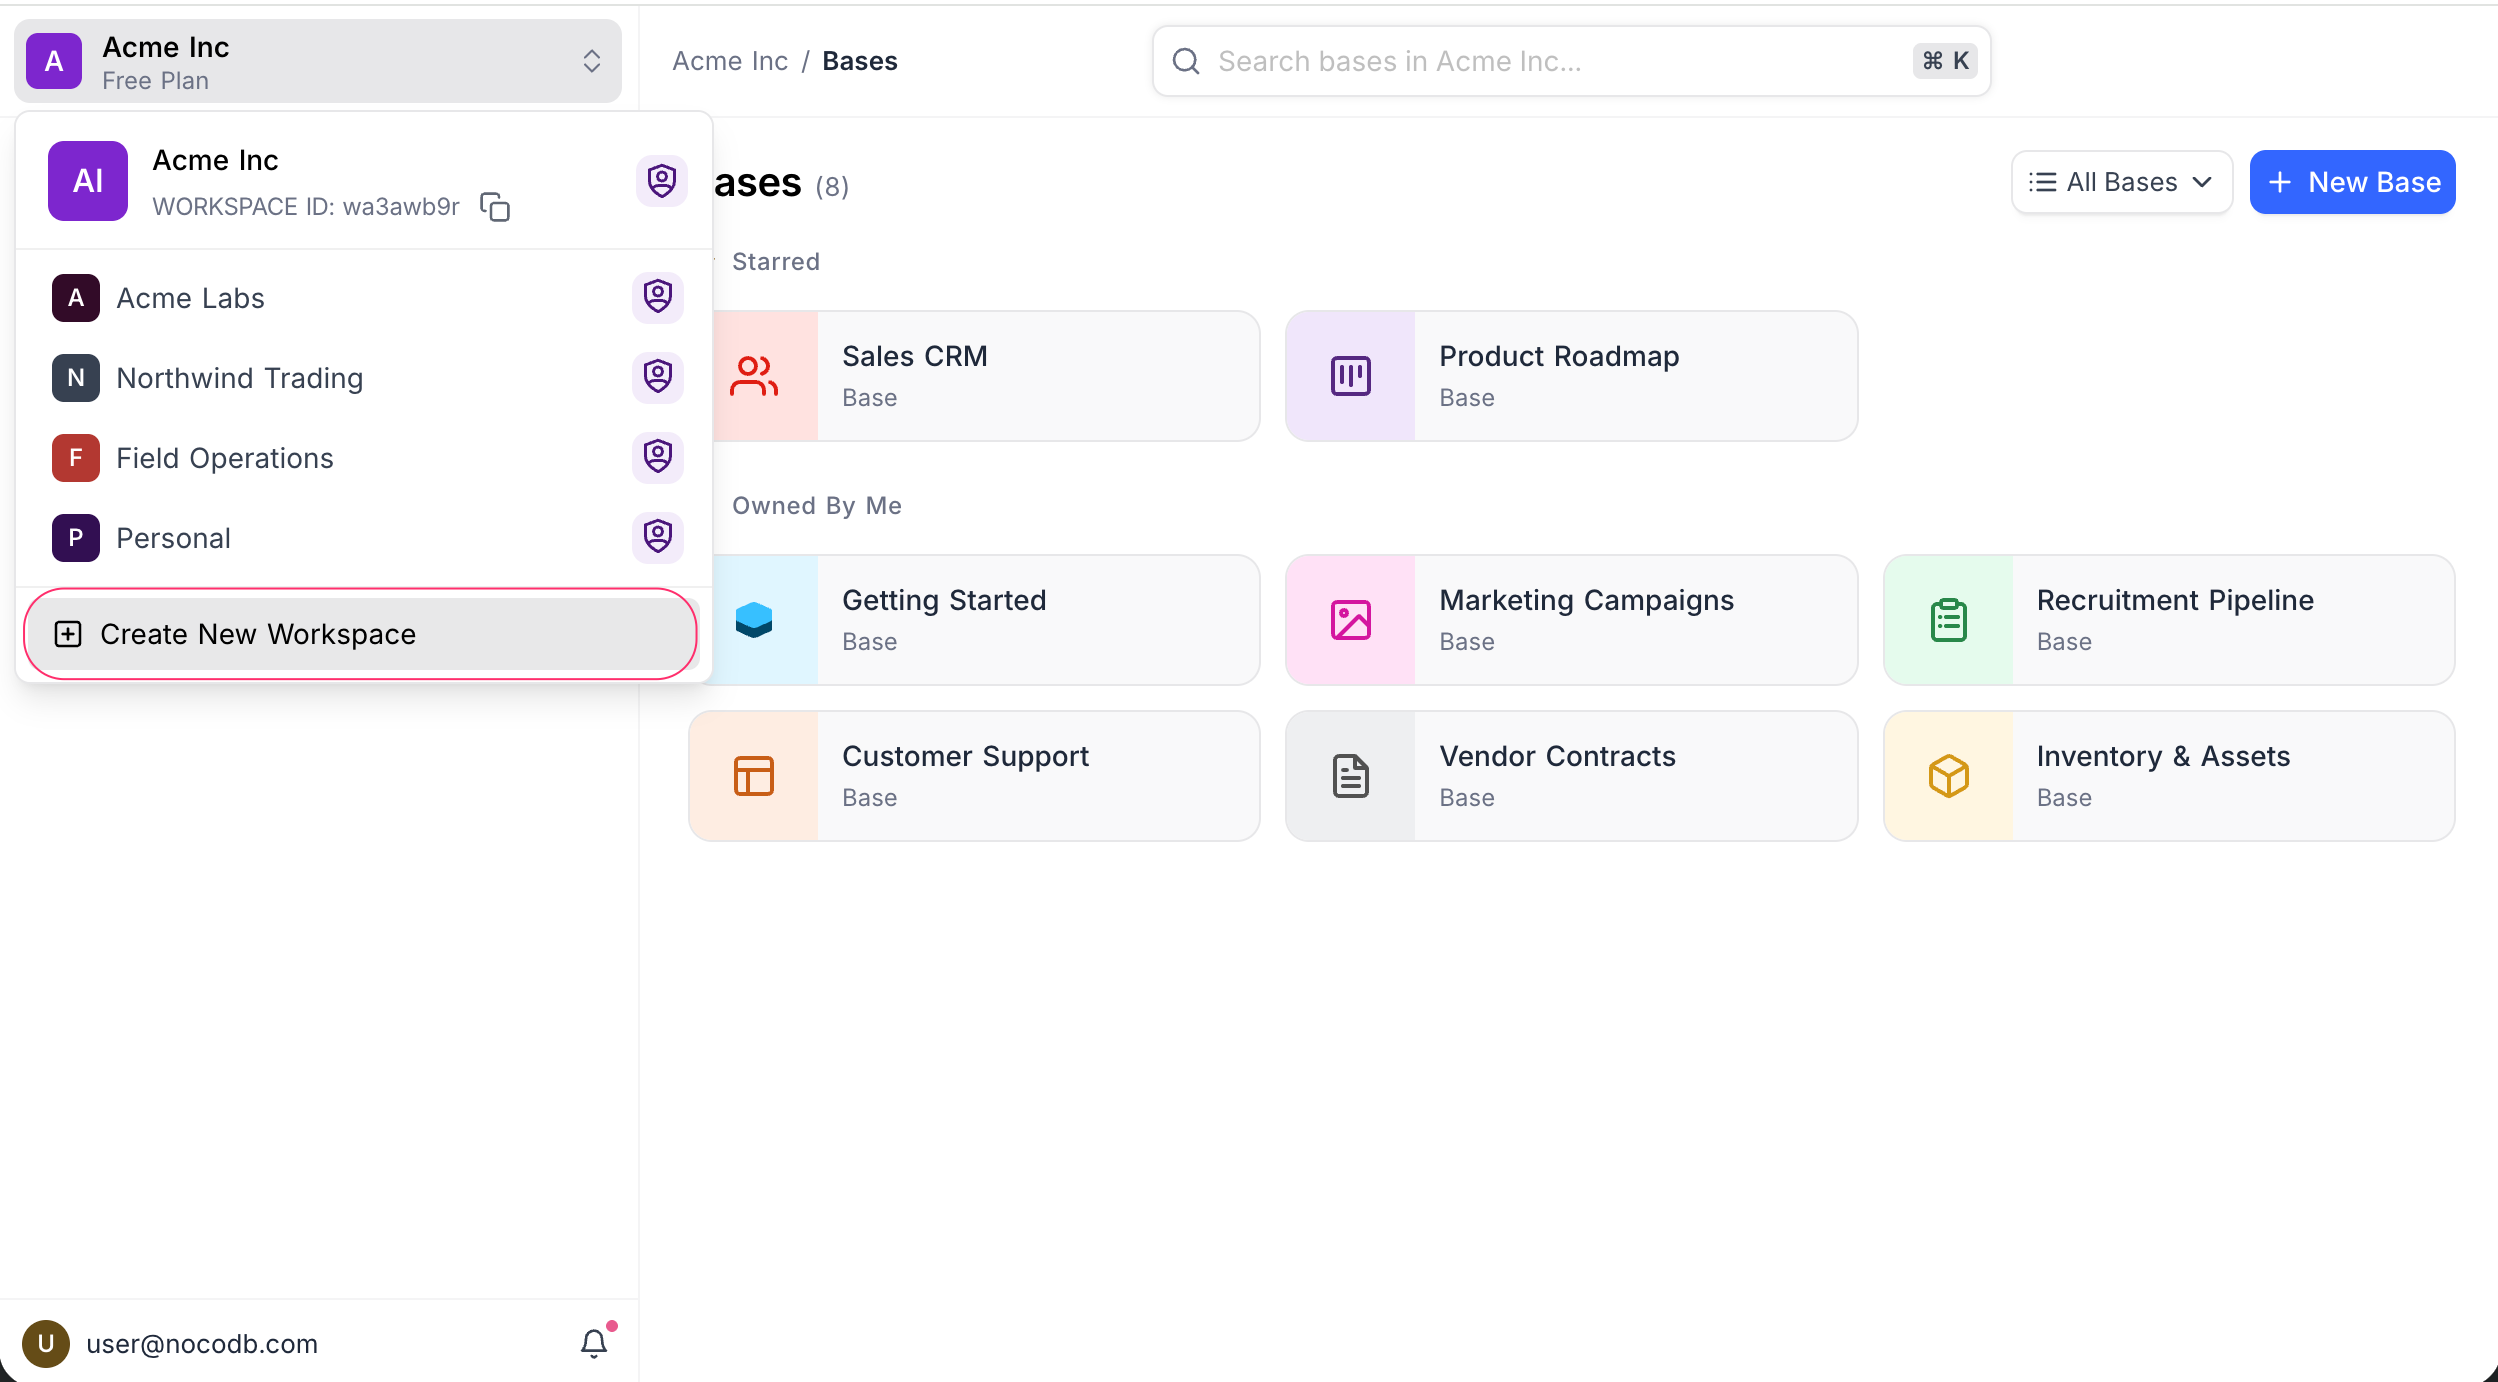
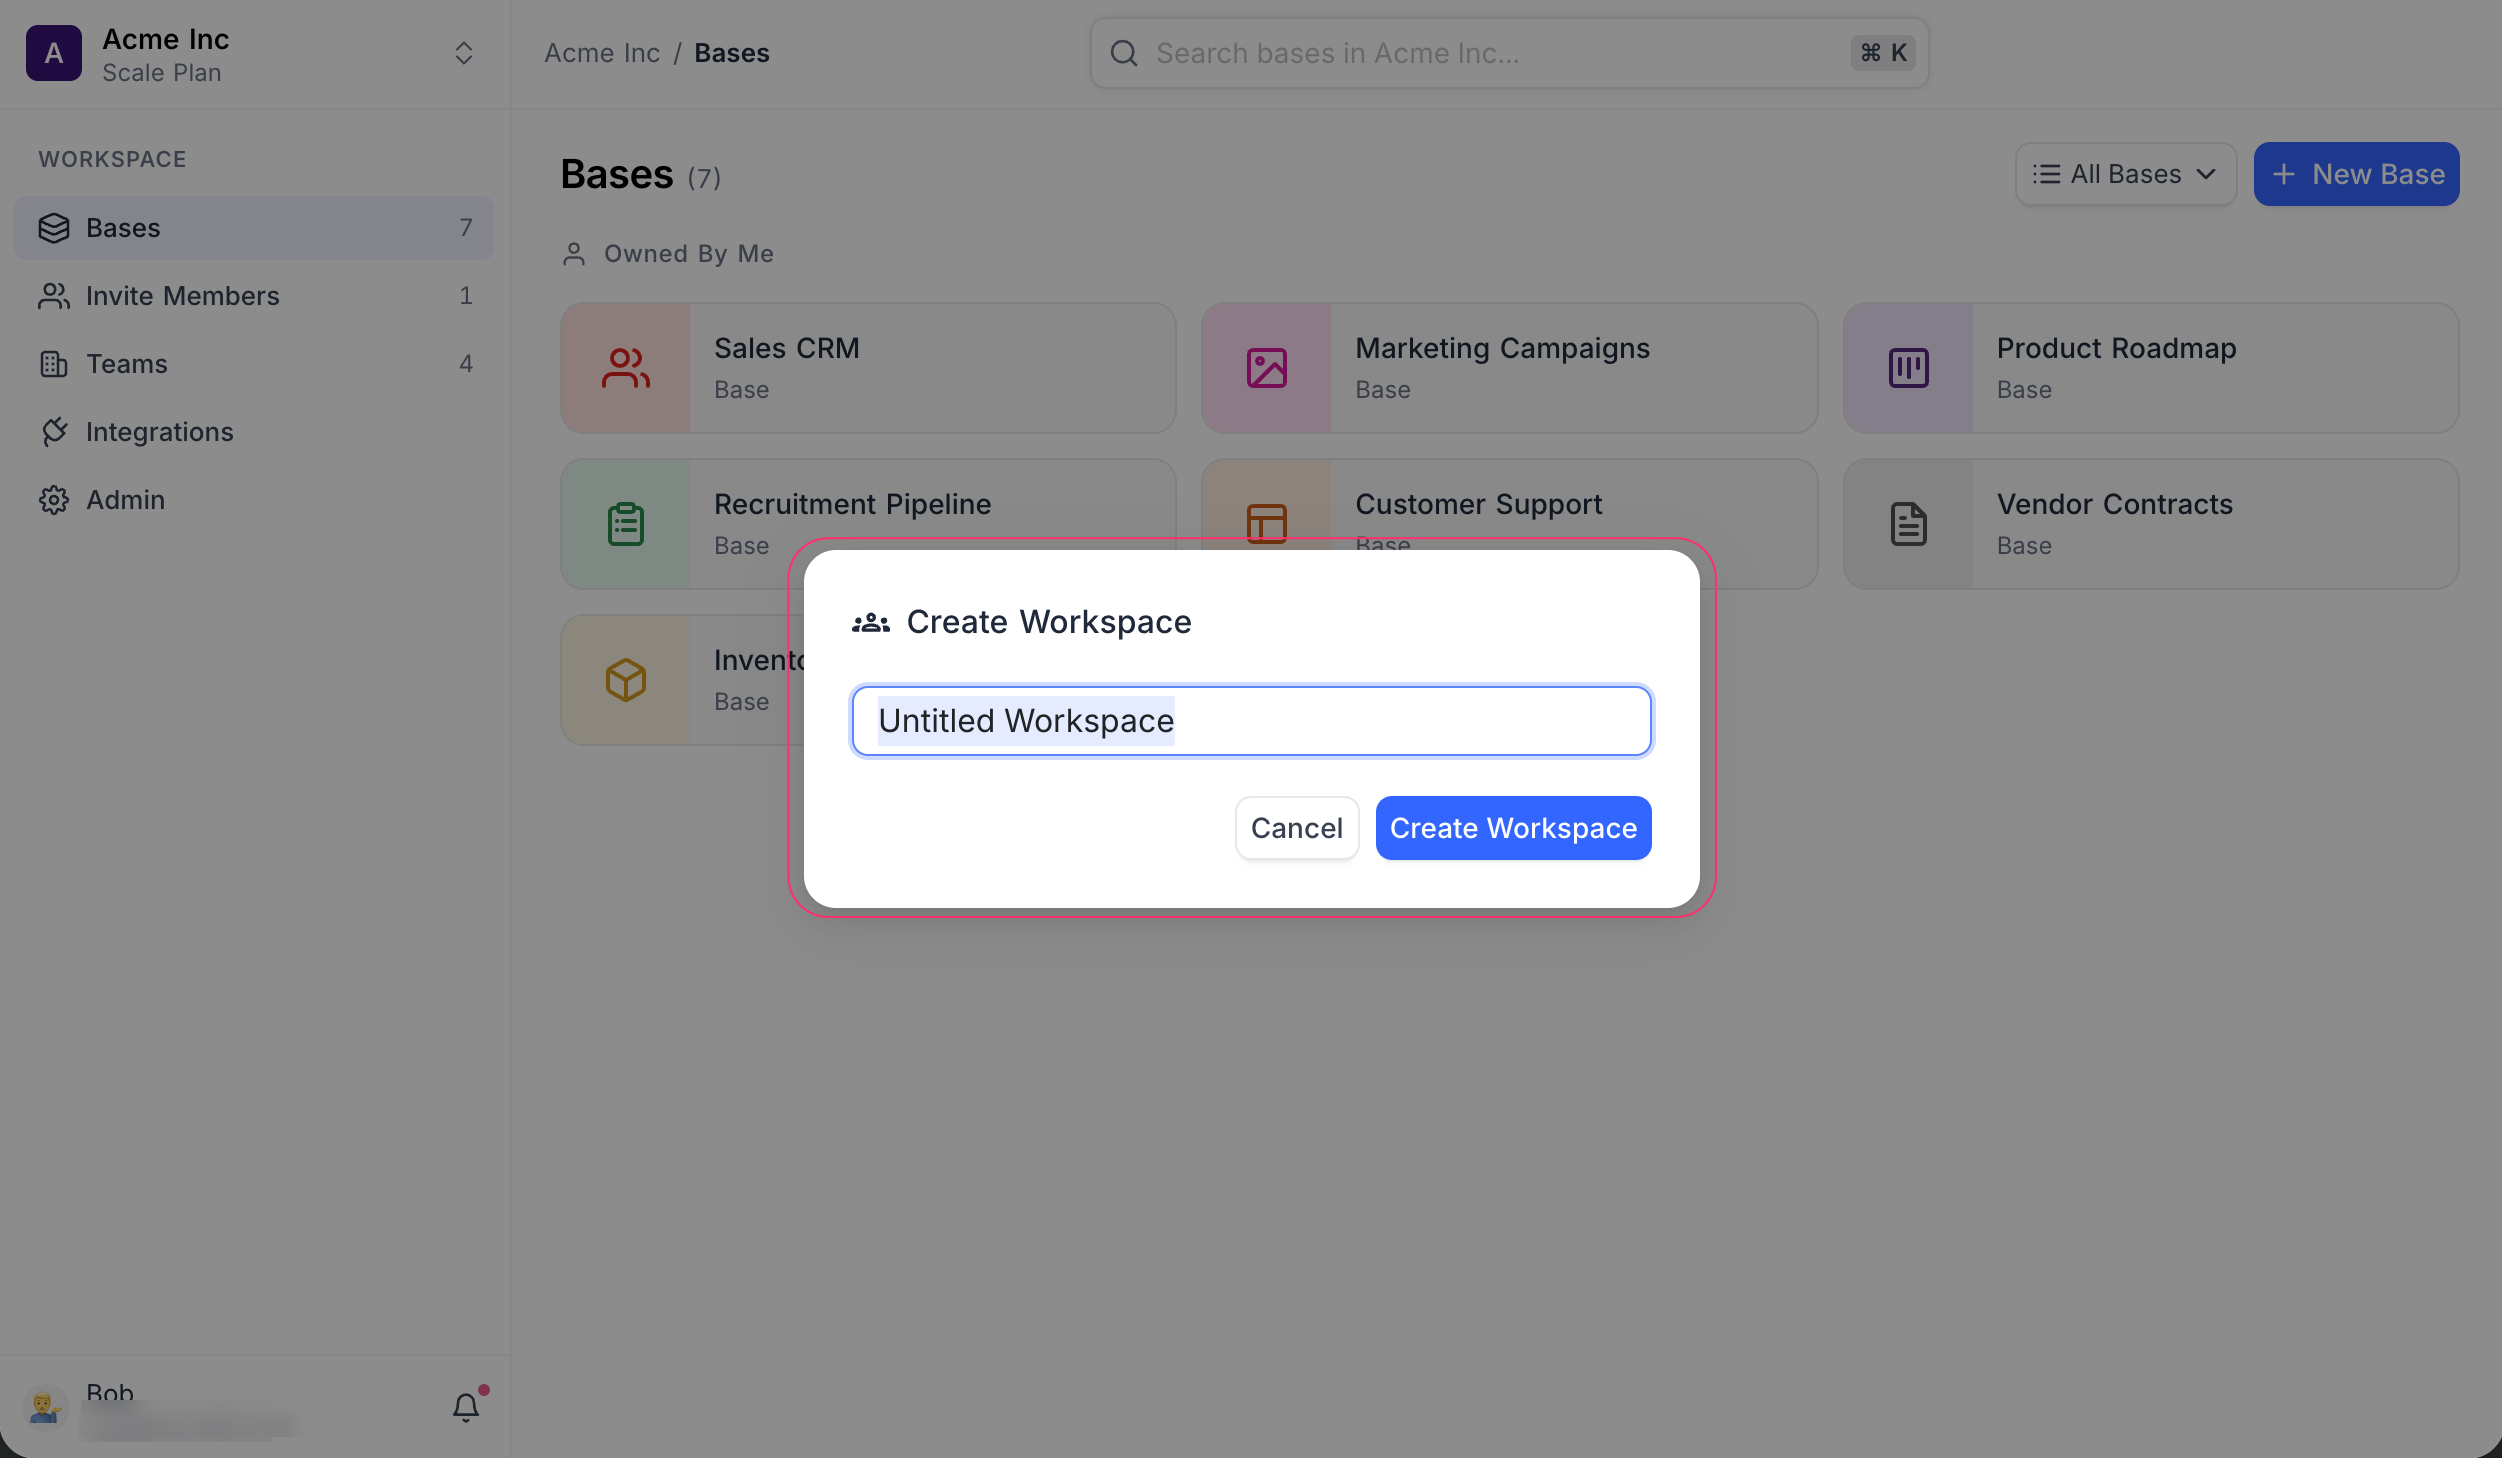
Once created, you become the owner of the workspace. You can then create bases and invite collaborators to work with you.
Availability
- The ability to create additional workspaces depends on your subscription plan. Refer to the pricing page for details.
Related
Related pages
- Workspace Collaboration : This article explains how to invite members or teams to your workspace, manage their roles, and remove them when needed.
- Actions on Workspace : Learn how to rename, secure, or delete a workspace in NocoDB.
- Workspace Audit Logs : Learn how to access and use audit logs to track workspace activity in NocoDB.
- Subscription & Billing : Manage your NocoDB subscription, change plans, and access billing information easily.
- Credits : Understand NocoDB credits: monthly plan allowances, what consumes credits, how credits are spent, and how to buy more.